Table of Contents
Your Keywords
In addition to the RoboPICO highlighting, you can custom-add Your Keywords to have them underlined in the Abstract view.
User Keywords can be added or edited in two places; the list of User Keywords can be populated and edited from the Configure Screening page, and then additionally populated and edited from the Abstract View for any study within a nest.
Steps for Configuring Keyword Underlining
On the Configure Screening page
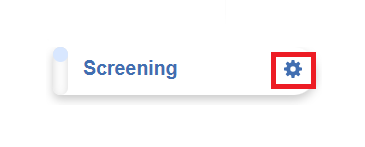
1. Go to the Configure Screening page
This is right below the “Screening” header in the AutoLit menu (see below).

2. Add Keywords to the “Your Keywords” Section
Click on “Your Keywords” in the toggle button next to Exclusion Reasons (see below). To add an exclusion reason click the “Add” button, type in your Keyword of interest and hit enter or add.

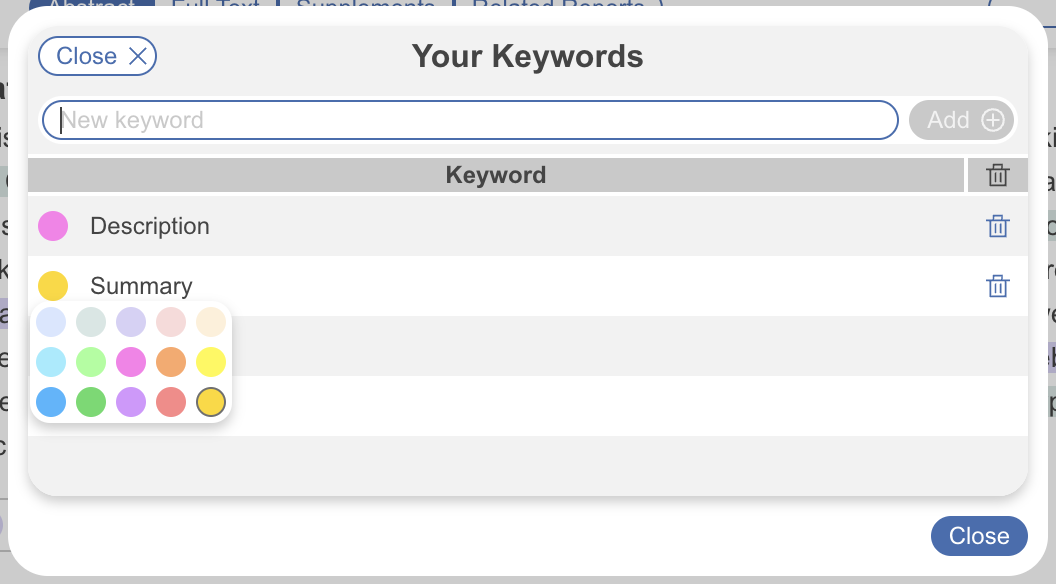
After adding a keyword, you can color code it by clicking the circle to the left of the keyword and choosing from the colors displayed. This color corresponds to the highlight color when that specific keyword is identified in an Abstract during Screening. If no color is chosen, the default is light blue.

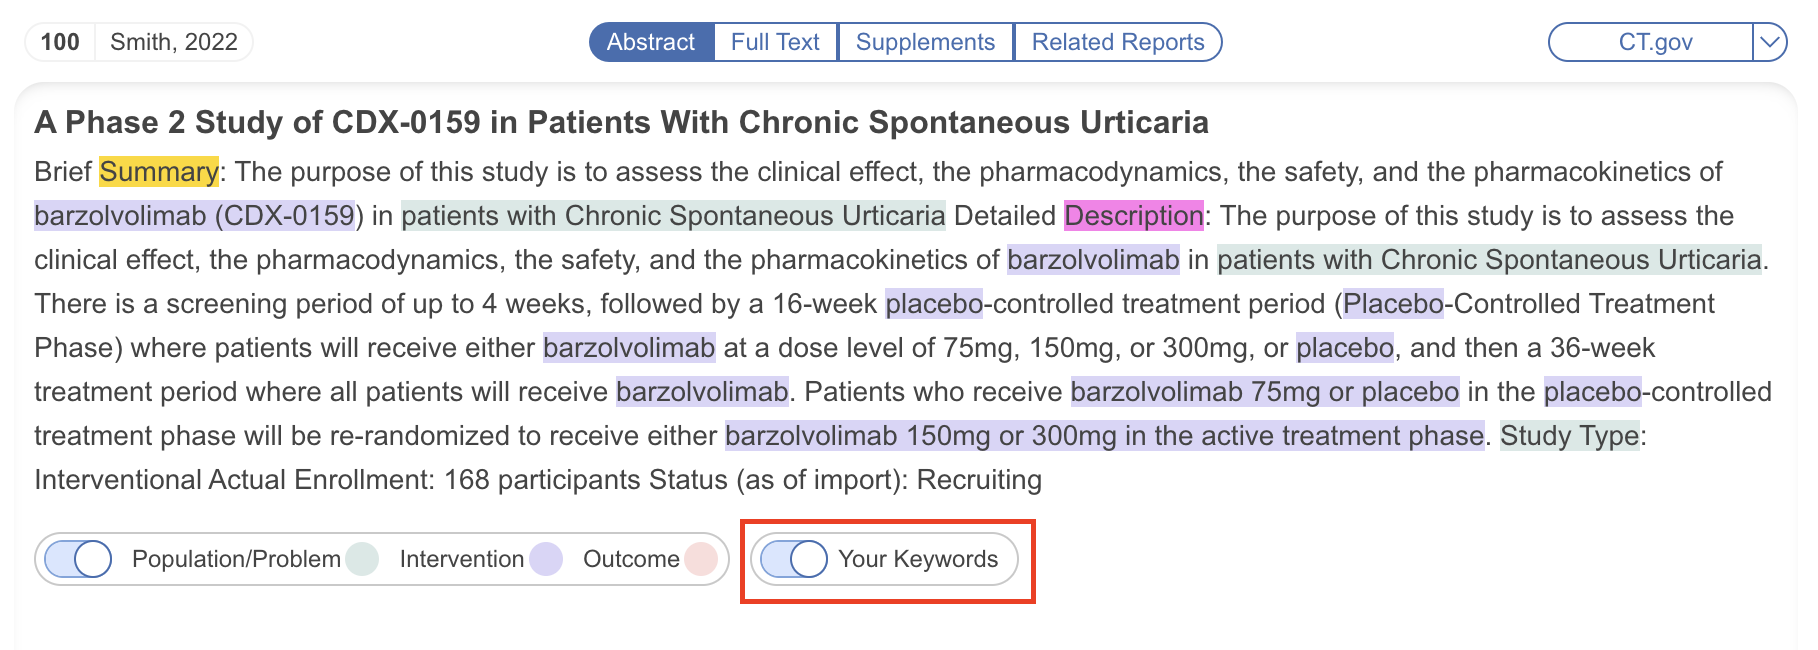
Below you can see how this looks in an Abstract during Screening.

3. Delete Your Keywords
If you need to delete a Keyword after creation, you can do so by selecting the trash can icon.
Deletion of the Keywords you created on this page can also be deleted from the Abstract view.
On the Abstract View
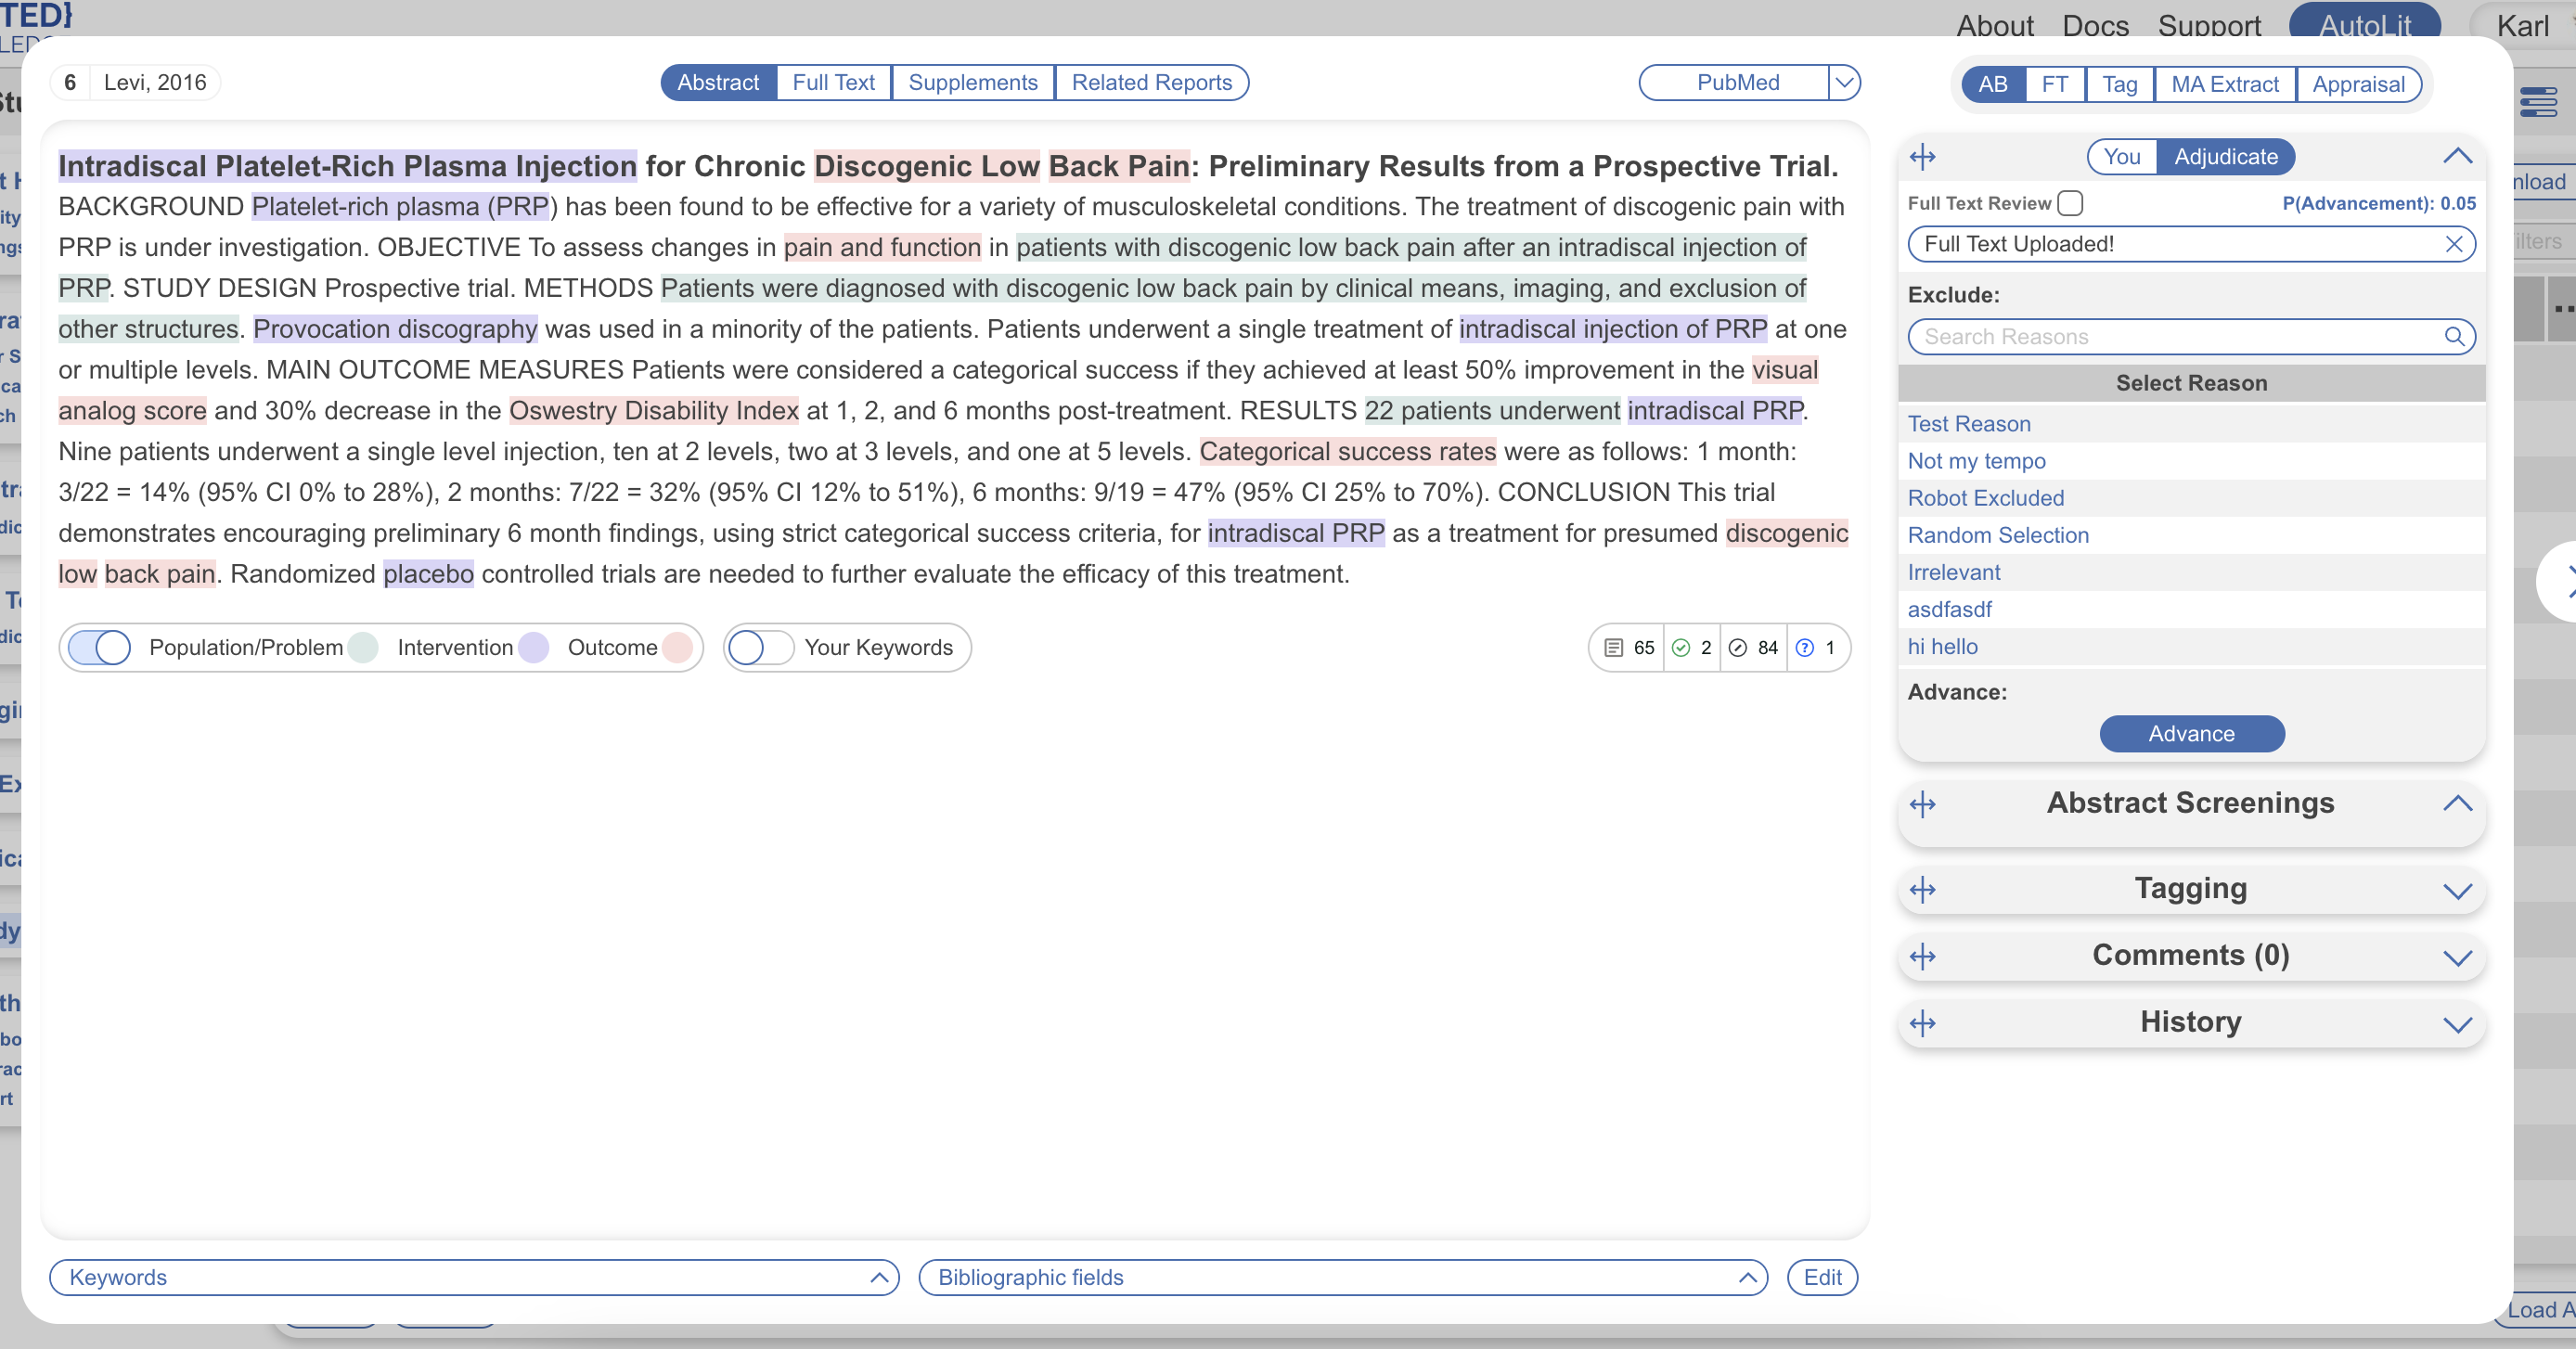
1. Go to the Abstract View in Screening
You can also add keywords during the screening process. Whenever you come across an abstract to screen, whether in the Screening module or Study Inspector, you can add keywords on the fly.
2. Click on “Your Keywords”

3. Type in desired keyword and hit “Add.”
A modal opens with the same functions as in Configure Screening as described above including color coding and ability to edit and delete existing keywords.

4. Any changes made here will be reflected in the abstract.