Nested Knowledge

Bringing Systematic Review to Life

User Tools

Site Tools


wiki:autolit:access

This is an old revision of the document!


Managing Nest Access

This page describes how to collaborate with other users on AutoLit or Synthesis. In general we recommend granting Organizational access, as it simplifies access management across large groups of people. Access may be granted to individual users for smaller projects or for one-time access.

Collaboration is not available to free tier users; any organization or user added to your nest must have a license.

Organizational Access and Ownership

Adding an Organization to a Nest in the Settings page automatically gives User-level access to that Nest to all members of the Organization.

To manage Organizational membership:

See the Organization Management page.

To add Organizations to a Nest:

See the Add Organizations section.

To give an Organization Ownership of a Nest:

See the Organizational Ownership section.

Adding Users


Only Owners and Admins have access to the Admin tab, where users are managed.

1. Select the Nest of interest

From the AutoLit page, click on the Nest you would like to add the user to.


2. Click "Settings" Tab

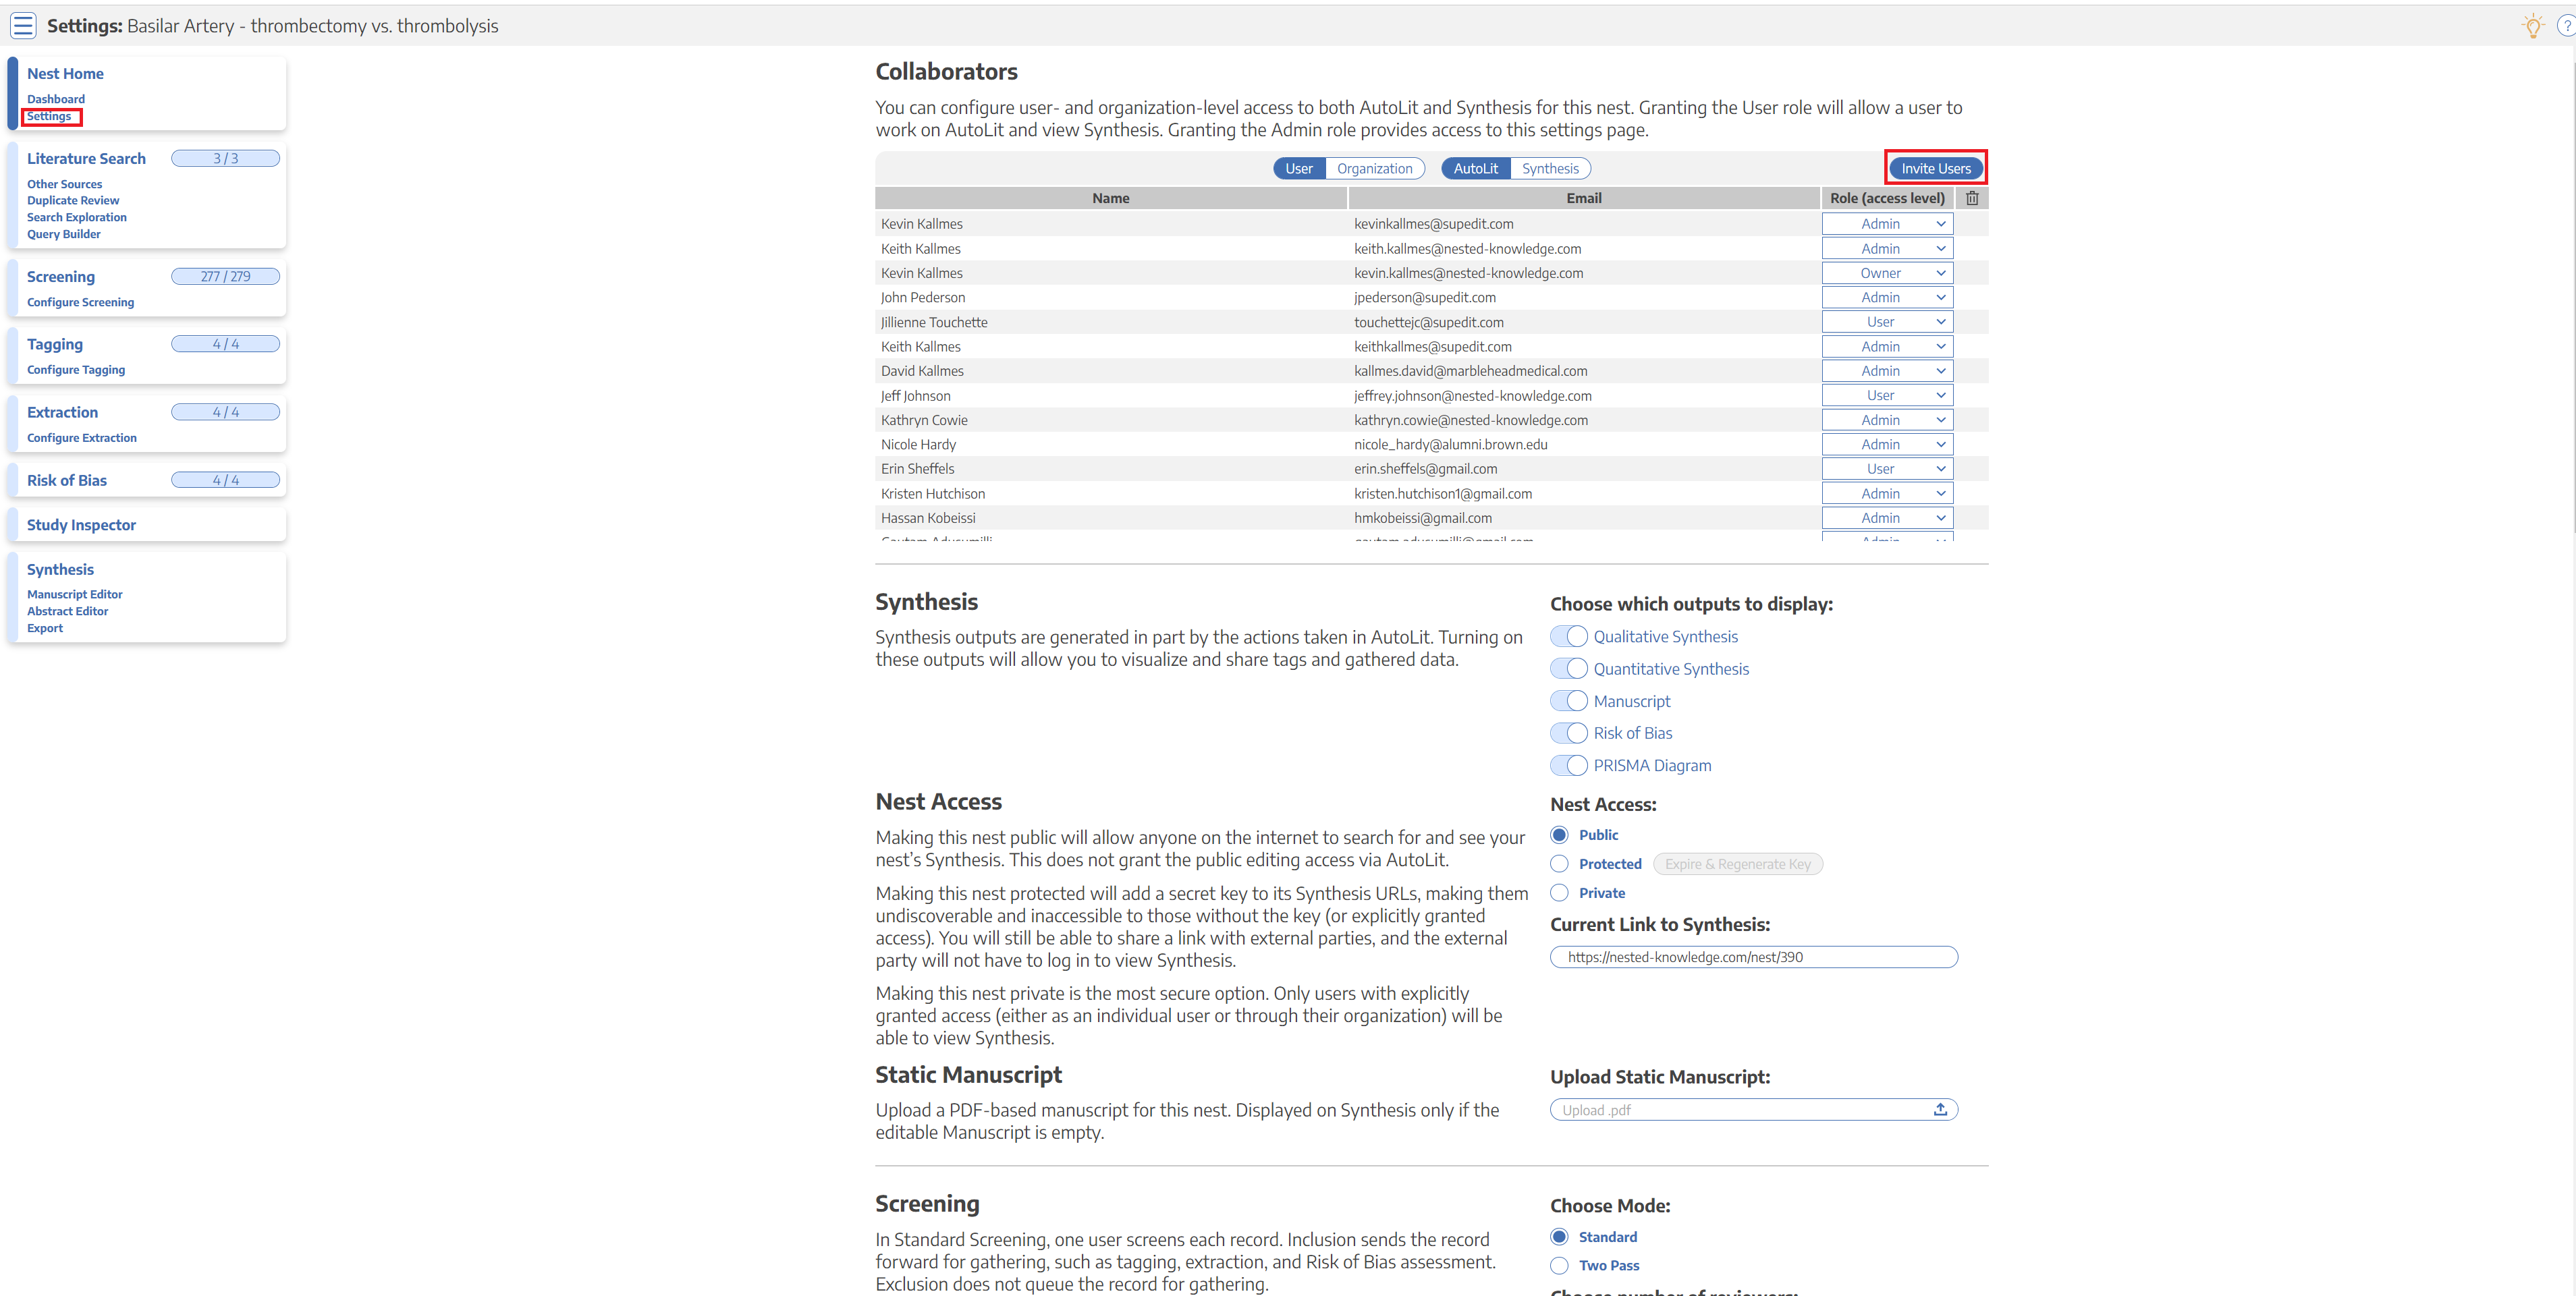
Hover over the Nest Menu and select “Settings” (see red box below).


3. Invite Users

3a. Open Invite Collaborators modal

Click the “Invite User” button, which will open a modal:

3b. Enter the User's email

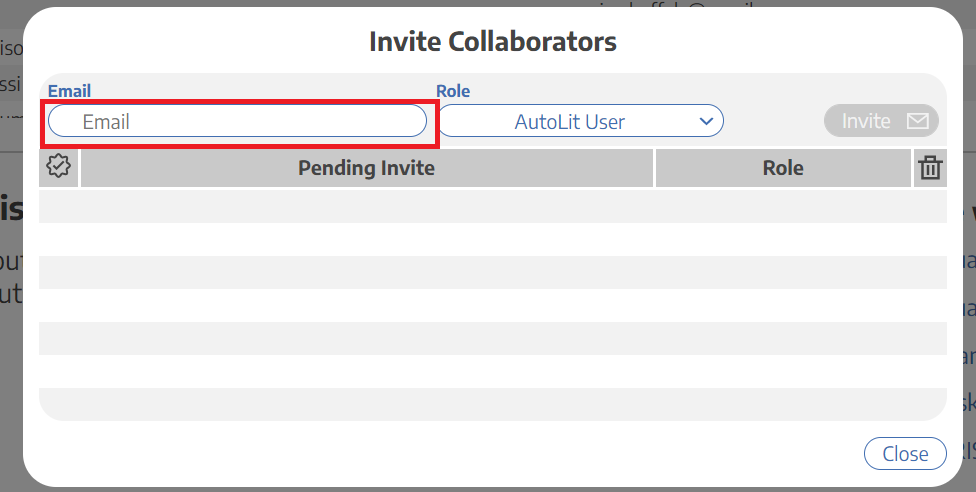
Once the modal opens, type in the full email address of the User you want to invite:

3c. Select the Access Level

From the drop-down, give the invited user privileges to access:

  • AutoLit as a User,
  • AutoLit as an Admin, or
  • Synthesis only (only relevant if the nest's Synthesis has not been made public).

3d. Send Invite

When completed, select “Invite User” (upper right) to generate an invite email.

Once added, the user's email will be added to the Pending Invites list; if they already have a Nested Knowledge account, their email will have a check mark next to it.

3e. User Response

In order to confirm access privileges, the user will have to:

  • If not yet a Nested Knowledge account-holder, create an account;
  • Click the access link in the email

Until the user has responded, they will be listed on the modal as a Pending User; you can check this to see whether your invite was accepted.

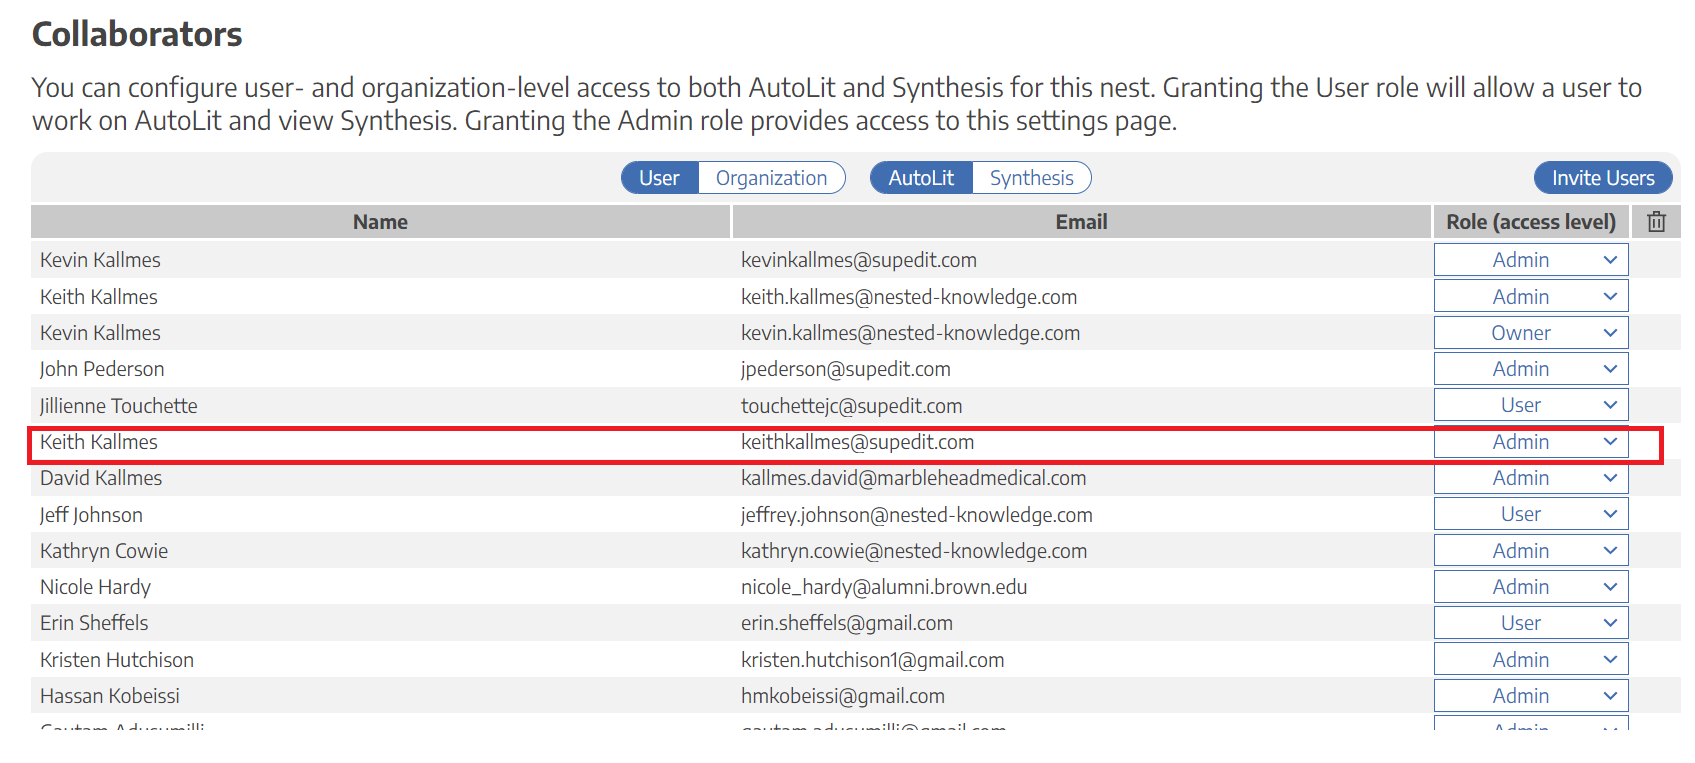
Once a User has accepted privileges, they will show up in the Collaborators list!


4. Altering User / Admin Privileges

To adjust the role of a user after they have been added to the nest, use the Collaborators page. Using the blue dropdown arrows in the Role column, you can choose to make the person an Admin.

5. Changing Ownership

If you are the Owner of a nest, you can identify a different collaborator as Owner, but this will irrevocably revert you to an Admin!

Individual Access Privileges: Admin vs. User

Admins can perform any function in the Admin tab:

  • Add other Users,
  • Add Organizations;
  • Configure Settings,

The only settings Admins cannot alter are Deleting a Nest, which is reserved for only the Owner, and assigning Nest Ownership, which is similarly reserved for the Owner.

Users can perform any Nest function (that is, any function in a Nest that is not housed on the Admin Settings page). Users cannot access this page, and cannot use any of the functions described in this page below or more generally in Settings.

wiki/autolit/access.1697660503.txt.gz · Last modified: 2023/10/18 20:21 by kholub