Nested Knowledge

Bringing Systematic Review to Life

User Tools

Site Tools


wiki:autolit:admin:settings:orgs

Manage Organizations

Organizations are groups of users with AutoLit accounts, which can be created by any user. The user who creates an Organization is its Owner, and this Owner can add Organizational Info and add or remove Member and Admin privileges within that Organization.

Organizations can help you:

  1. Add Organizational access to a nest rather than adding Users individually.
  2. Maintain a set of Organizationally 'owned' nests.
  3. Create and manage Organizational Templates.

Video Guidance

Create Organizations

Manage Organizations, Members, and Templates

Create or Manage an Organization

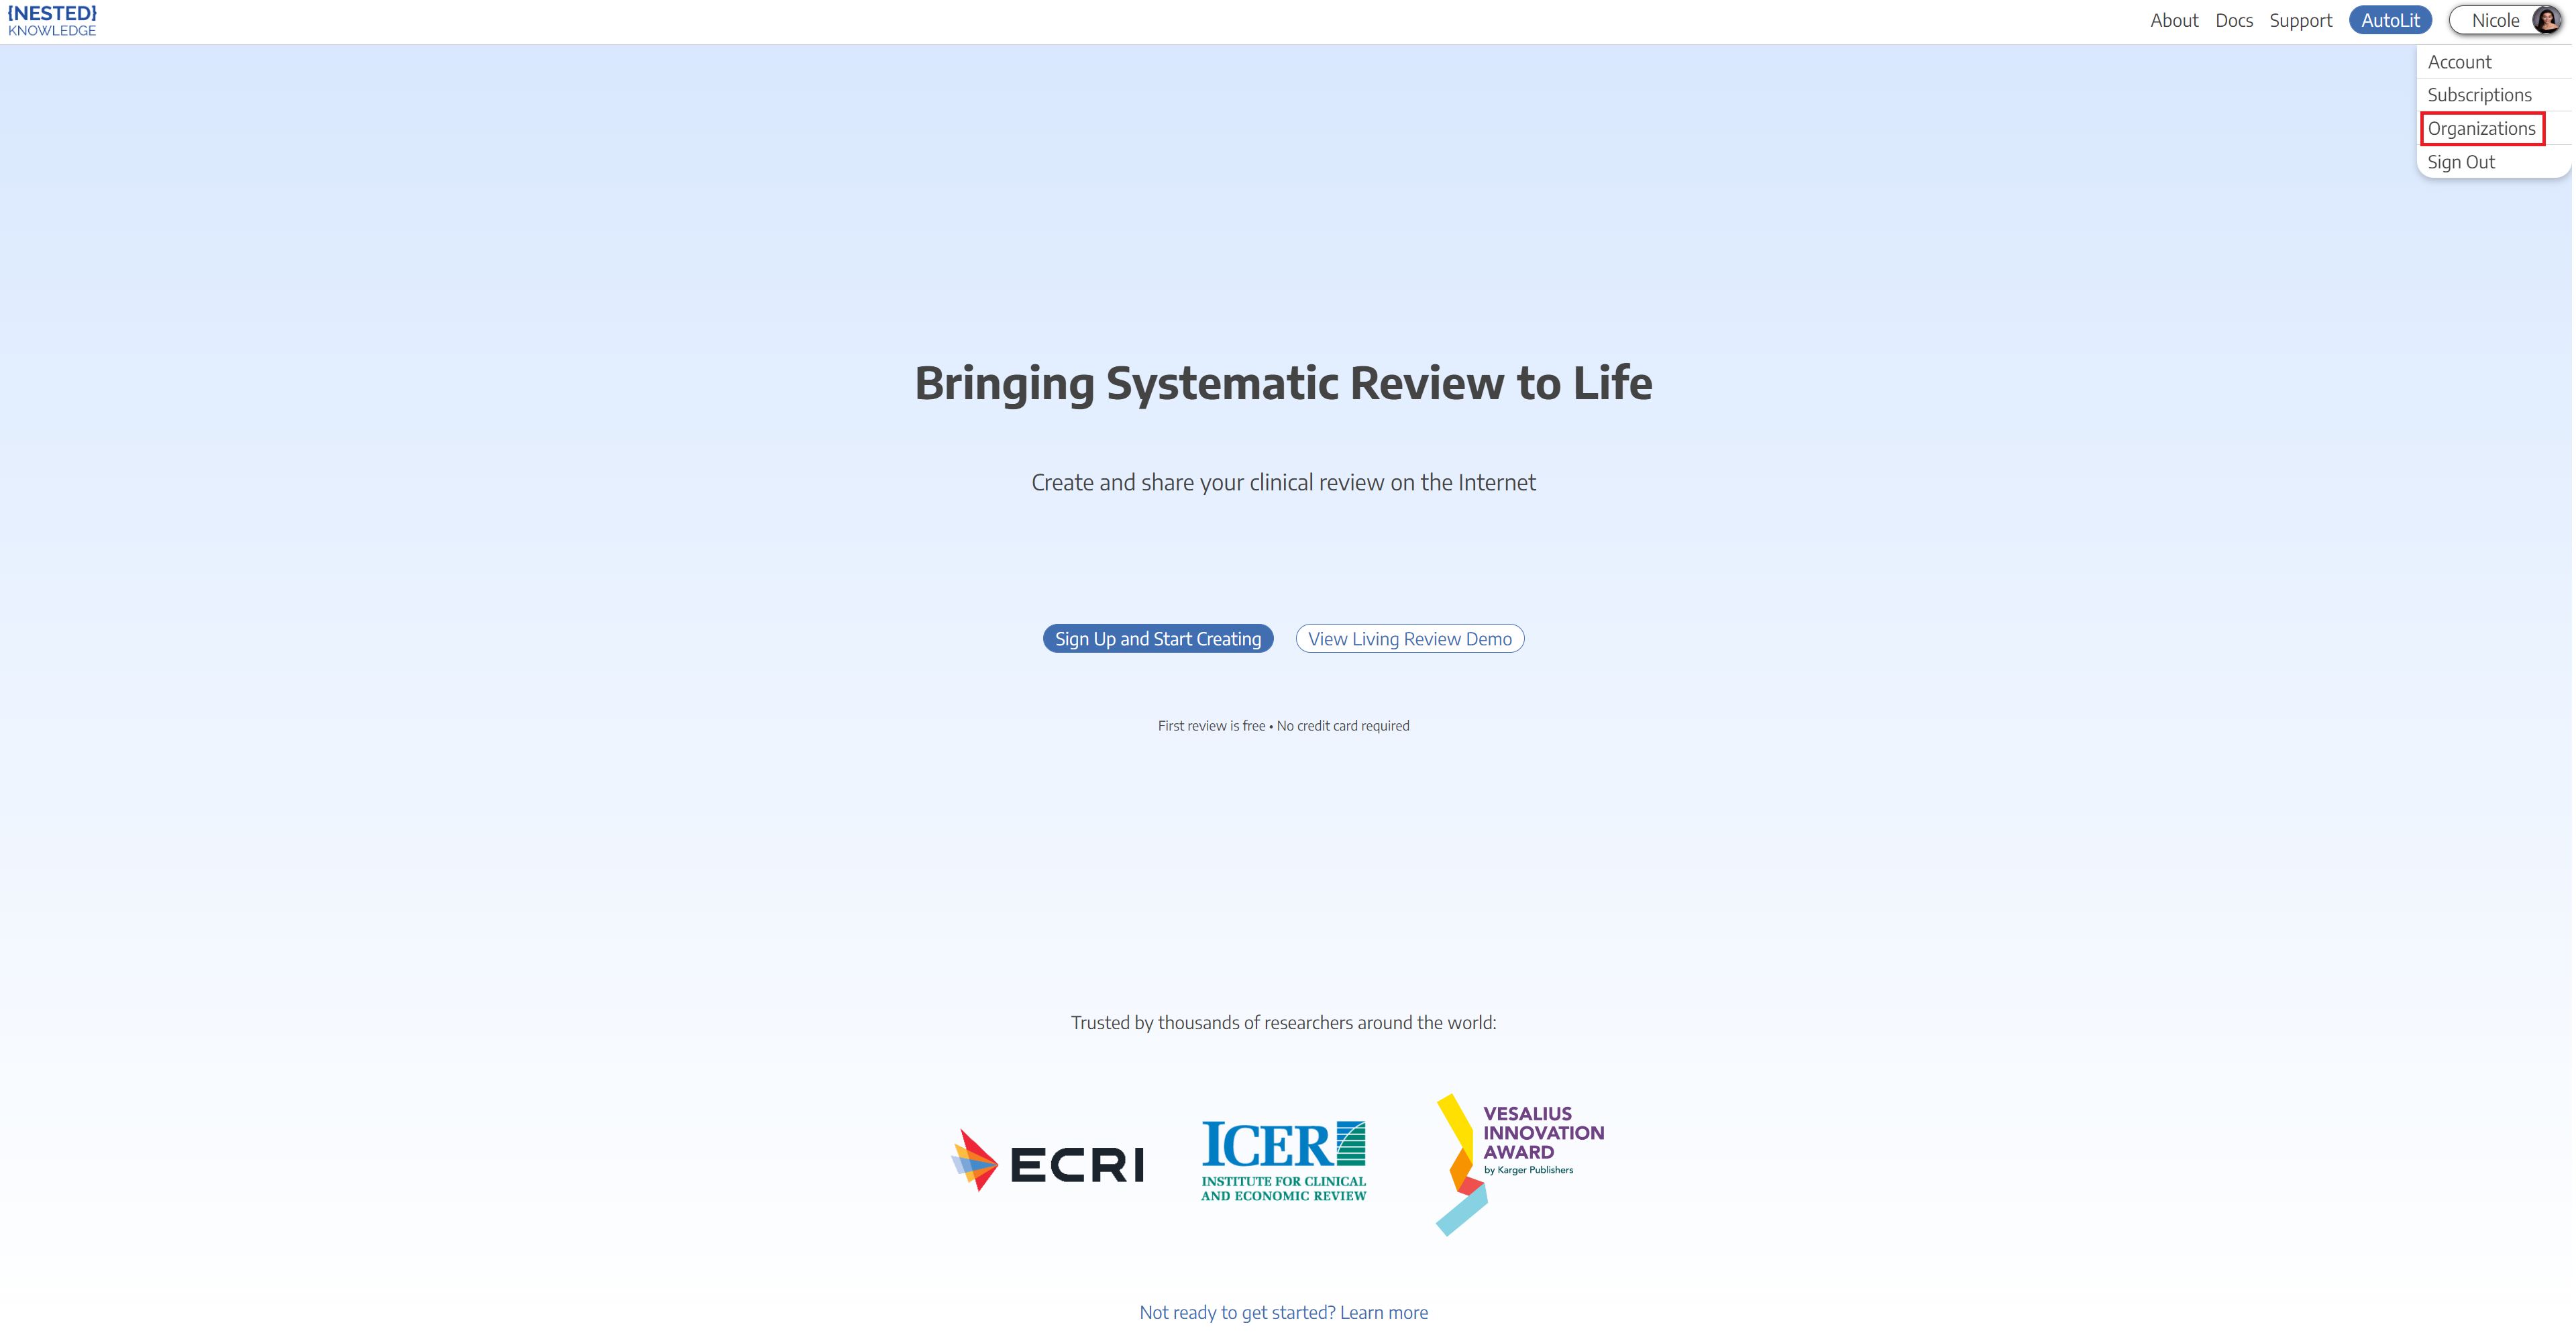
If you are signed in, your Organizations are accessible by clicking on your username in the upper right, and selecting “Organizations” from the drop-down menu.


2. Create an Organization

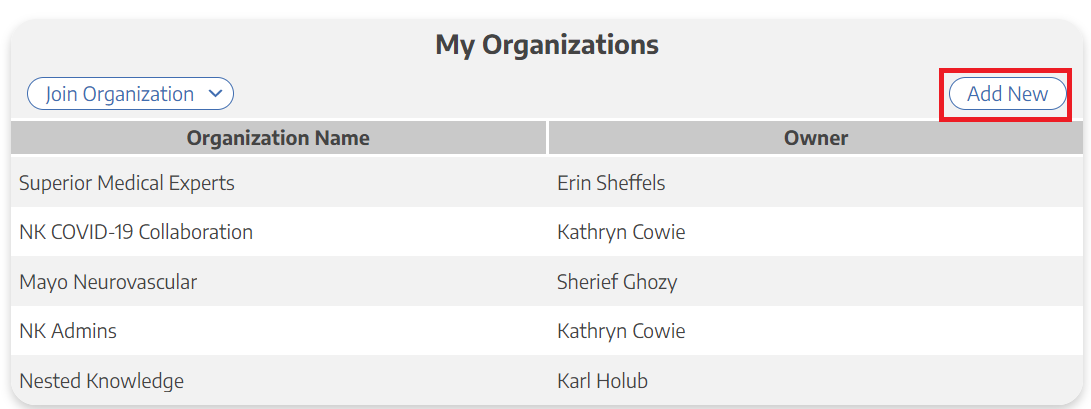
  1. To create an organization, select “Add New” in the “My Organizations” section in the bottom left of the “My Profile” page:

  1. In the Organization Details modal that pops up, enter the Organization Name, a secondary/abbreviated name (if desired), and a URL of the homepage for the Organization (i.e., the University of Minnesota can use https://twin-cities.umn.edu/).
  2. If desired, add a logo for your organization.
  3. Add Admins and Members to your Organization (see below).

3. Manage an Organization:

  1. Note: You must be the Owner or Admin of an Organization to Manage it.
  2. Instead of selecting “Add New”, select the Organization of interest from the Organization List.
  3. Edit Organization Info or Add Members and Admins (see below) as needed.
  4. You can also pay for subscriptions for the entire organization if you like. See this page here for further instruction.

4. Edit Organization Info

Once you have selected an Organization, the Organization Details and Members should be editable under Manage Organization:

To edit Organization Info, go to the Organization Details section:

  1. To change logo, select “Click to Change Logo” and upload a new file.
  2. To change Organization Name, Secondary/abbreviated Name, or Organization URL, type in the new name/URL and click “Save.”
  3. Here you can input an “Alert Email” this address will be emailed if the Synthesis of any organization-owned nest is made public
  4. To edit the Member & Admin list and privileges, use the Members section (see below).

4a. Deleting an Organization

If you need to delete an Organization, the Owner of the Organization must contact support@nested-knowledge.com and note the exact name of the Organization to be deleted.


5. Add Organizational Members and Admins

5a. Open Invite Collaborators modal

From the Organization page, select “Invite Members.” Number of total users will also be shown at the bottom.

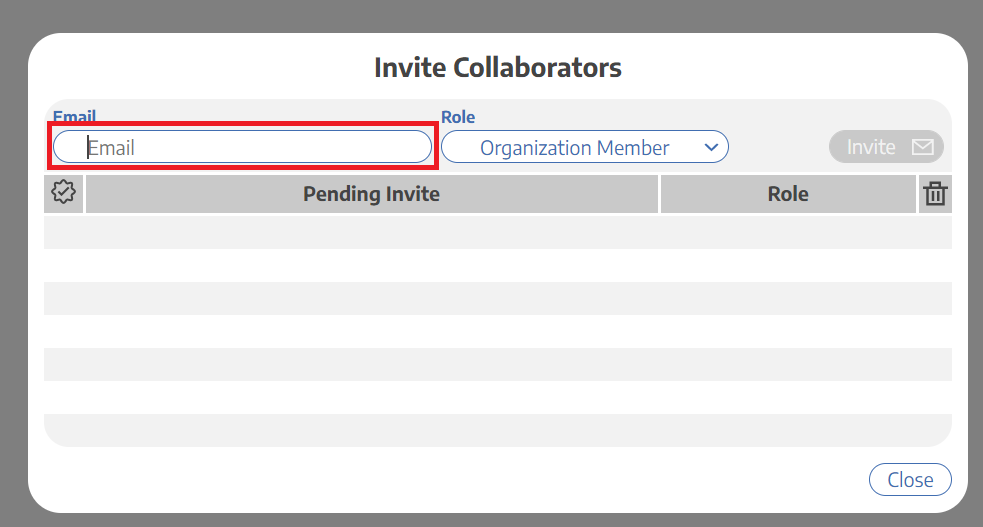
5b. Enter the User's email

Once the modal opens, type in the full email address of the User you want to invite:

5c. Select the Access Level

From the drop-down, give the invited user privileges to access:

  • Organization Member, which gives access to any nest your Organization has access to, or
  • Organization Admin, which gives access to any nest your Organization has access to, and also enables access to the Organization Management page and all functions contained within it.

5d. Send Invite

When completed, select “Invite Member” (upper right) to generate an invite email.

Once added, the user's email will be added to the Pending Invites list; if they already have a Nested Knowledge account, their email will have a check mark next to it (red arrow above).

5e. User Response

In order to confirm access privileges, the user will have to:

  • If not yet a Nested Knowledge account-holder, create an account;
  • Click the access link in the email

Until the user has responded, they will be listed on the modal as a Pending User; you can check this to see whether your invite was accepted.

Once a user has accepted privileges, they will show up in the Collaborators list!

5f. Revoking Privileges

To revoke Member (or Admin) privileges in an Organization, select the “x” under the trash-can icon in the upper right of the Users section for the user in question.

To revoke a Pending Invite, select the trash can icon within the “Invite Members” modal.

How Owners, Admins, and Members work for Organizations

  1. Admins will have the ability to add or edit the User list for an Organization;
  2. both Admins and Members will have automatic access to any nest to which the Organization is granted access (see below).
  3. You, as creator, will be the Owner of the Nest, with all Admin capabilities.

To change the owner of an Organization, please contact us directly to verify your ownership identity and the new owner.

6. Edit Admins and Owners

Owners and Admins can edit Admin privileges. An Owner can reassign ownership of a nest, but doing so will make the original Owner an Admin, and only the new Owner can reverse this revocation of ownership.

Notification of Public Synthesis

When a Synthesis page for a nest owned by an Organization is made public, each Owner and Admin of the Organization is sent an email to ensure that the public settings are appropriate.

7. Create Teams within your Org

If you'd like to separate your organization out into Teams so that each team can view and manage their own collection of nests you can do so on the org management page. See here for more on how to configure and use Teams.


Access and Ownership for Organizations:

How Organizational Ownership works

Only one Organization can own a nest. Nests created by Organization members are automatically “owned” by that Organization, or Organizational Ownership can be given by the Nest Owner (see below). If an Organization owns a nest, any Organizational Owner or Admin are automatically made Admins on the nest, and the nest is listed on the Organization Management page.

By owning the nest, the Organization automatically has its Organizational Templates populated into the nest. The nest's hierarchy will also be available to be added and/or edited to become a Hierarchy Template.

Giving an Organization ownership of a nest

If you are already a member of an Organization, it should have Ownership automatically. However, if this needs to be manually granted:

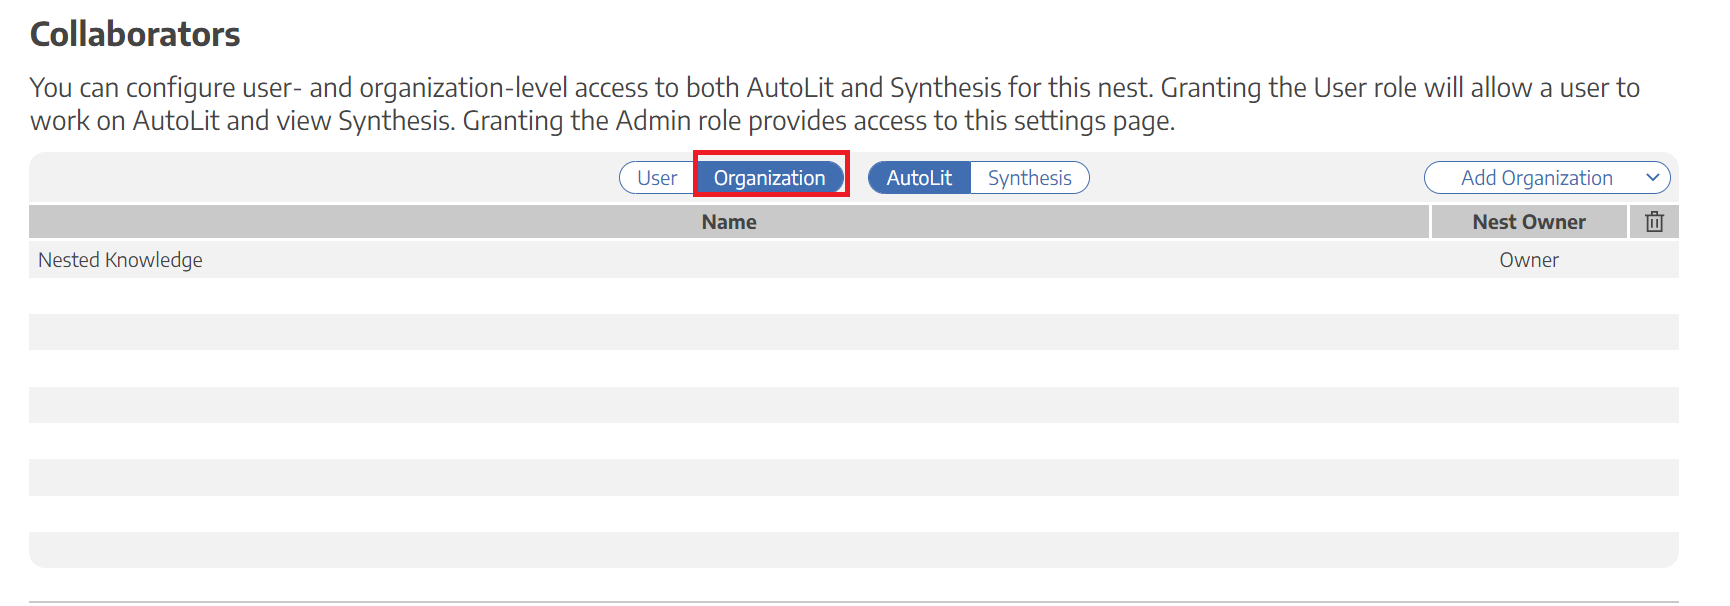
  1. Click on the “Organization” tab in the “Collaborator” panel.
  2. If your Organization is not in the list, add it (see above).
  3. In the “Nest Owner” column, select the drop-down next to your Organization's name.
  4. In the drop-down, select “Owner.”

Adding Organizational access to a Nest:

Note: Access is distinct from ownership! Any number of Organizations can be granted access to a nest (see instructions below), but this will only grant user-level access to the nest for all Organization members, and provide no other privileges/capabilities. In effect, Organizational access should be treated as 'bulk-sharing'.

Adding an Organization to a Nest takes place in the Settings Page, not in the Organization Management page.

To add by organization:

  1. Click on the “Organization” tab in the “Collaborator” panel.

  1. In the upper right of the new page, click “Add Organization.”
  2. Begin typing the Organization Name; once it pops up, select it from the drop-down. When complete, every member of the organization will be given access to the nest as users.

After doing this, under Organization Management, the nest will be listed as below with number of nests detailed at the bottom:

When an organization-owned nest is made public, the organization owner receives an email notification to confirm.

Access and Ownership for Organizations:

How Organizational Ownership works

Only one Organization can own a nest. Nests created by Organization members are automatically “owned” by that Organization, or Organizational Ownership can be given by the Nest Owner (see below). If an Organization owns a nest, any Organizational Owner or Admin are automatically made Admins on the nest, and the nest is listed on the Organization Management page.

By owning the nest, the Organization automatically has its Organizational Templates populated into the nest. The nest's hierarchy will also be available to be added and/or edited to become a Hierarchy Template.

Giving an Organization ownership of a nest

If you are already a member of an Organization, it should have Ownership automatically. However, if this needs to be manually granted:

  1. Click on the “Organization” tab in the “Collaborator” panel.
  2. If your Organization is not in the list, add it (see above).
  3. In the “Nest Owner” column, select the drop-down next to your Organization's name.
  4. In the drop-down, select “Owner.”

Adding Organizational access to a Nest:

Please note, for security reasons, you cannot add an organization to a nest that is not subscribed to the software.

Note: Access is distinct from ownership! Any number of Organizations can be granted access to a nest (see instructions below), but this will only grant user-level access to the nest for all Organization members, and provide no other privileges/capabilities. In effect, Organizational access should be treated as 'bulk-sharing'.

Adding an Organization to a Nest takes place in the Settings Page, not in the Organization Management page.

To add by organization:

  1. Click on the “Organization” tab in the “Collaborator” panel.

  1. In the upper right of the new page, click “Add Organization.” Options will include all organizations you are a member of.
  2. Select an option from the drop-down. When complete, every member of the organization will be given access to the nest as users.

After doing this, under Organization Management, the nest will be listed as below with number of nests detailed at the bottom:

When an organization-owned nest is made public, the organization contact receives an email notification to confirm.

Organization Subscription Status

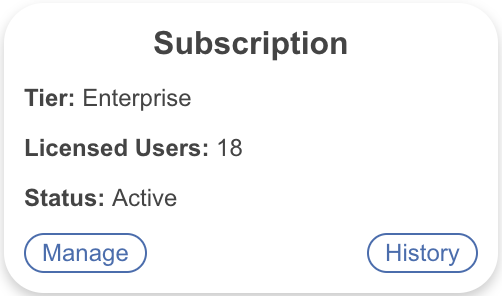
To see the organization subscription type, total number of licensed users, and the status, click “Organization Details.”

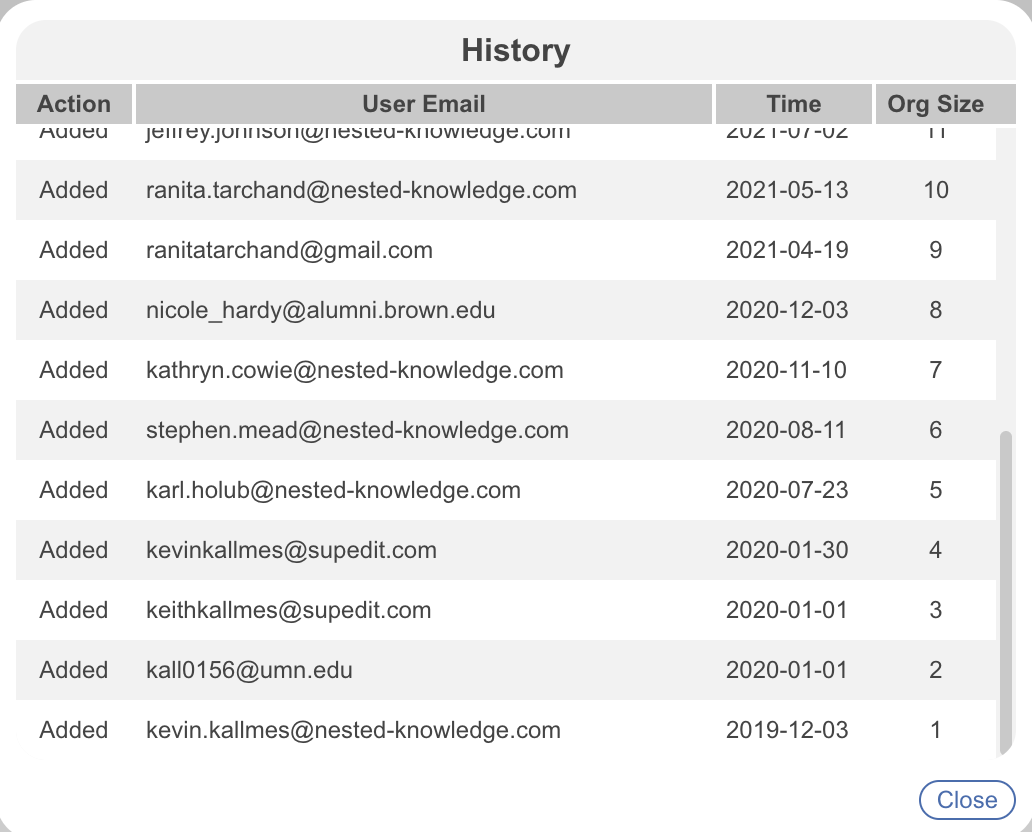
Here you can manage the subscription and change number of users (click “Manage) and track and audit organization membership history (click “History).

The organization history will show you a list of all members and the dates they were added/removed.

Organizational Folders

On top of the Organizational Templates, Organizations enable you to create shareable folder structures across your entire Organization. See here for details!

wiki/autolit/admin/settings/orgs.txt · Last modified: 2024/02/14 10:21 by jthurnham