Nested Knowledge

Bringing Systematic Review to Life

User Tools

Site Tools


wiki:autolit:screening:configure

This is an old revision of the document!


Configuring Exclusion Reasons

The first step in the Screening process is configuring the Exclusion reasons. The steps for adding and editing exclusion reasons will be covered here.

Steps for Configuring Exclusion Reasons:

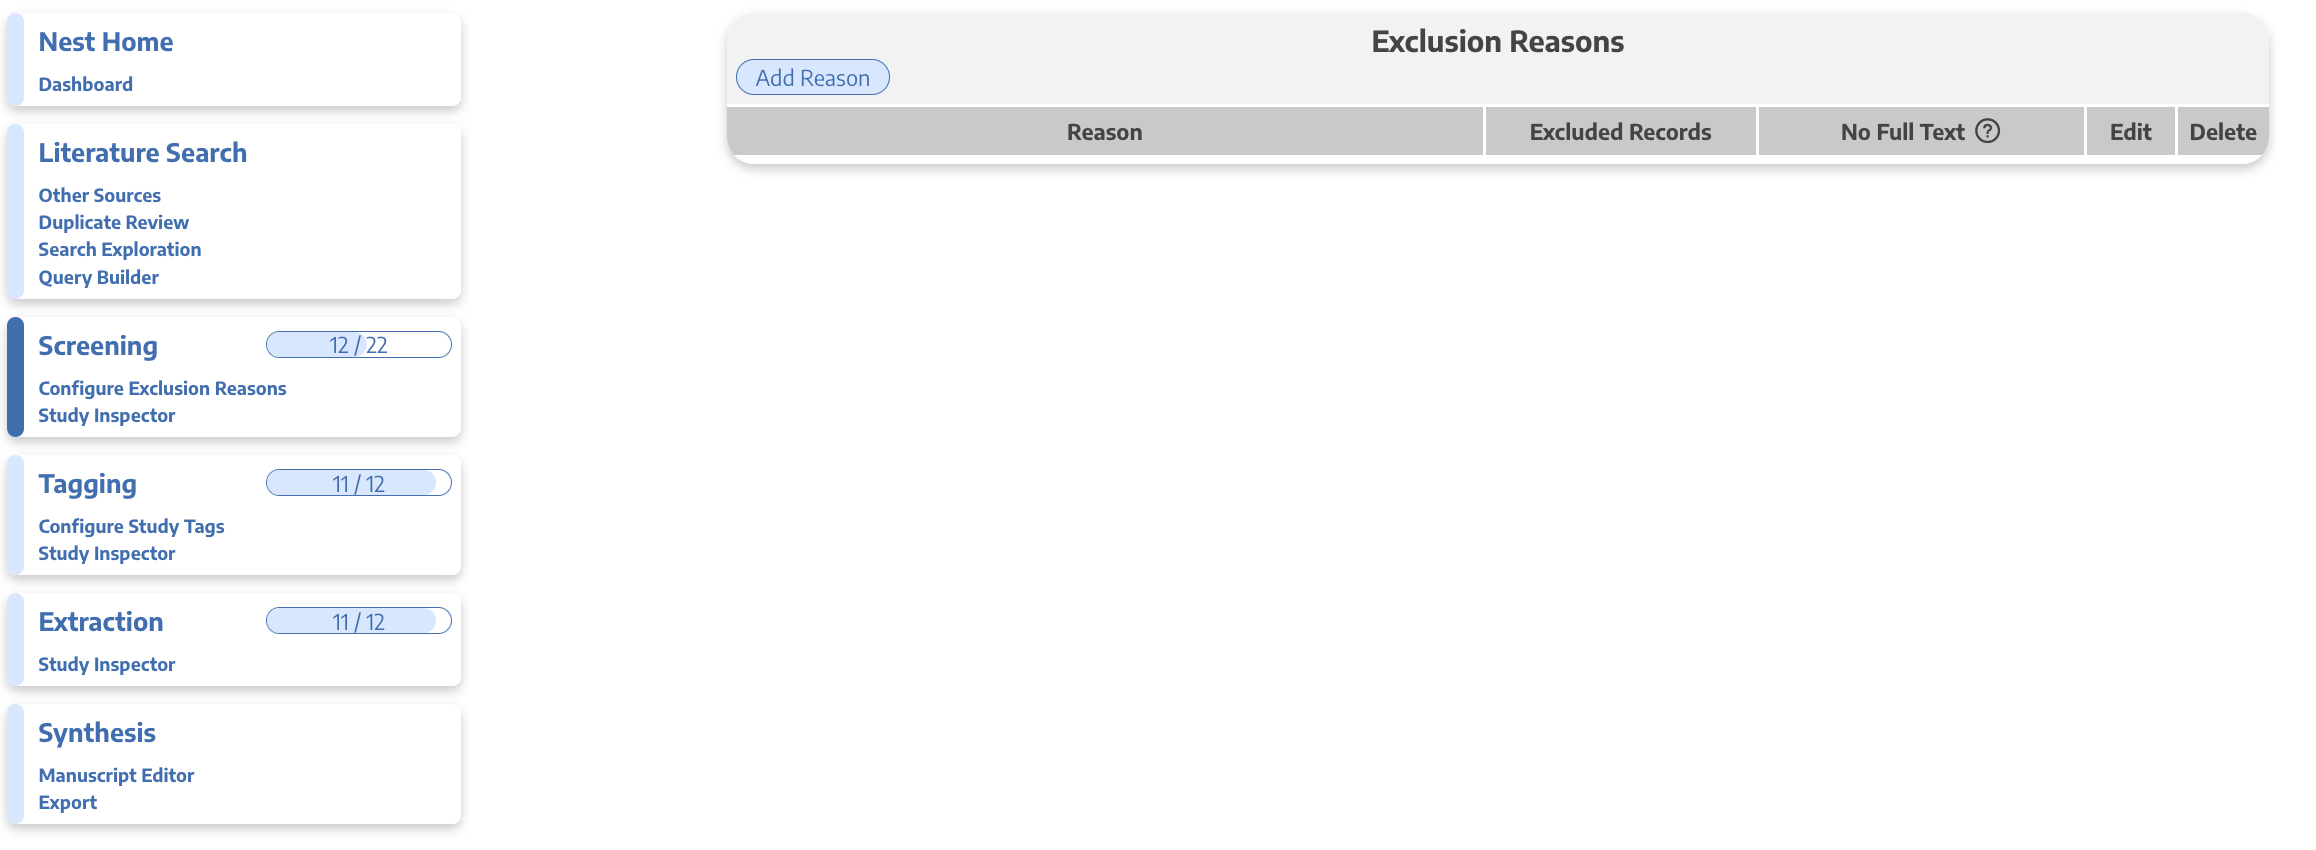
Once you are in a nest, hover over the Nest menu and click on “Configure Exclusion Reasons” under Screening.

ASCII���Screenshot


2. Inspect the Exclusion Reasons Page

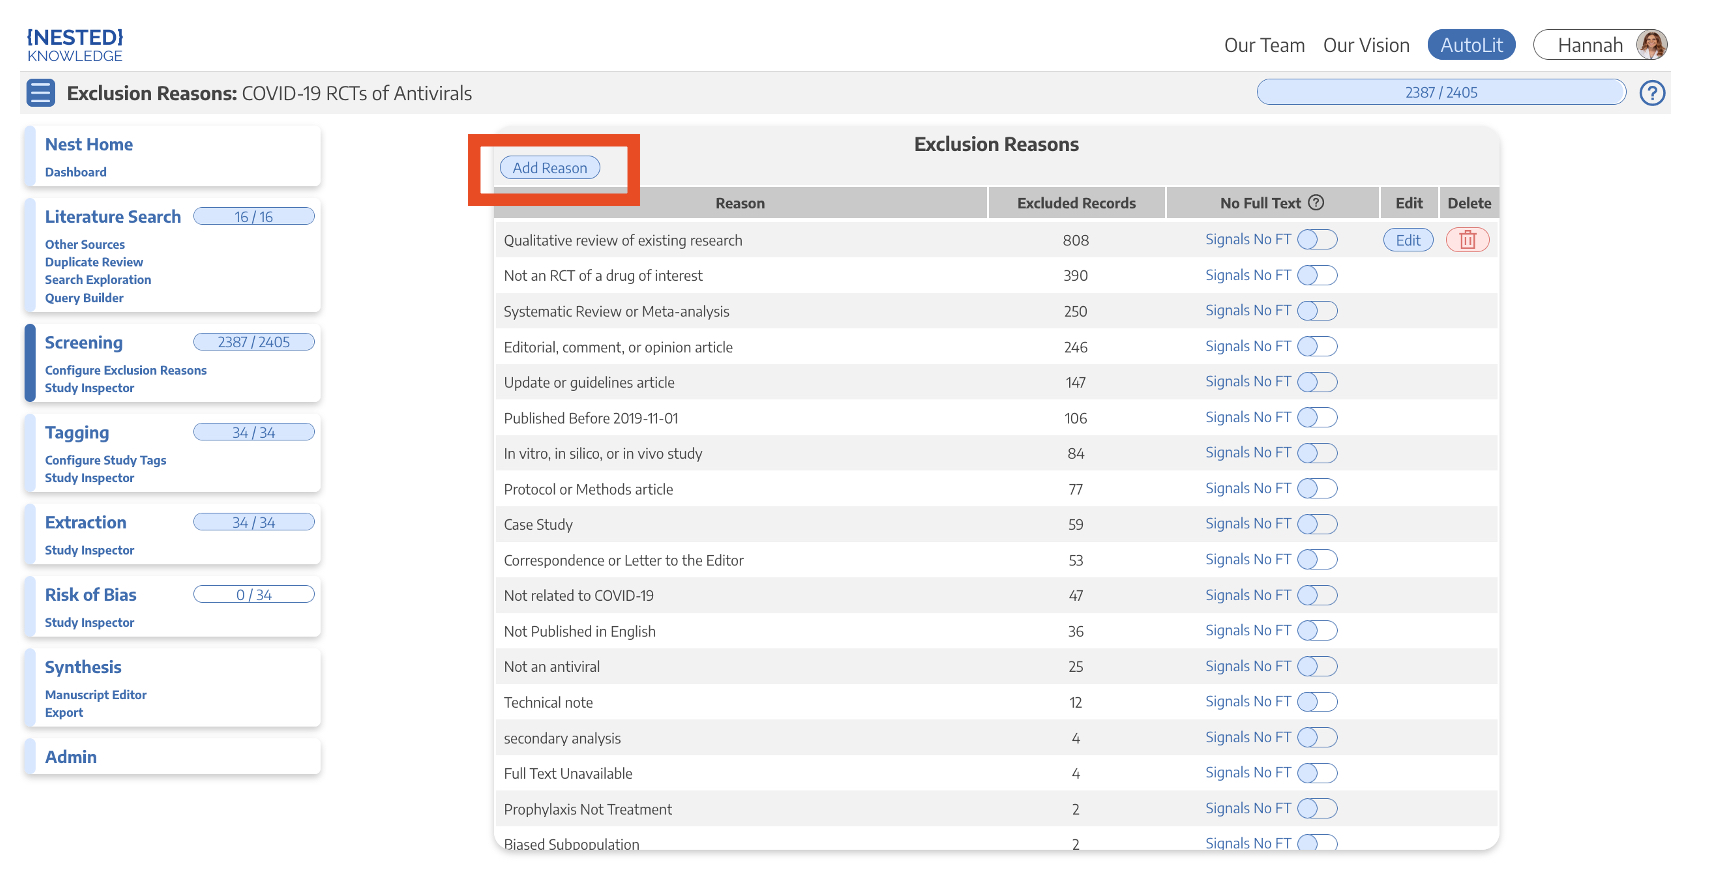
“Configure Exclusion Reasons” will bring you to a page that looks similar to this:

ASCII���Screenshot

If someone has already set Auto or Manual Exclusion reasons, they will appear here.


3. Add Exclusion Reasons

By clicking “Add Manual Exclusion”, you can add any reason for exclusion based on the aim of the Nest. Examples of common exclusion reasons as well as exclusion reasons specific to a certain nest are shown in the image below:

ASCII���Screenshot

Deleting an exclusion reason will permanently remove it from the system and will also remove it from studies to which it has been applied. These studies will be returned to the screening queue and will need to be screened again.


Useful Information

  • Adding Exclusions Reasons
    • You can always (and should) add Exclusions Reasons as you screen. You can look to other nests to get a sense of helpful Exclusions Reasons.
  • Editing Exclusions Reasons
    • If you want to change/edit the wording of an exclusion reason, click on the edit (pencil) button next to each reason. Editing the wording will automatically change the wording on all studies to which that exclusion reason has been applied.
  • “No Full Text” Switch
    • Use this switch to designate one exclusion reason as indicating that the full text was not available for a given reference. This information will be reflected in your PRISMA flow diagram.
wiki/autolit/screening/configure.1643061125.txt.gz · Last modified: 2022/01/24 21:52 by hannahlyons