Nested Knowledge

Bringing Systematic Review to Life

User Tools

Site Tools


wiki:autolit:utilities:inspector:download

Download from Inspector

This is the main method for exporting contents from your nest. However, if you want to build custom tables or CER-related exports, see the Exports page.

How Download Works

First, in Inspector, filter to the records that you want to be exported. If you apply no filters, all records (including Excluded records) will be exported.

Then, click “Download” in the upper right corner of the Inspector page. Select the download of interest (see below for details), and then select “Download” in the lower right corner of the modal.

Important note: For all CSV/spreadsheet downloads, the leftmost columns in the download will be the columns you are displaying on Inspector at the time of download. So, by configuring your Inspector columns, you also configure the columns that will be in your exported spreadsheet along with the content identified in the Download menu (see below).

Types of Downloadable Content

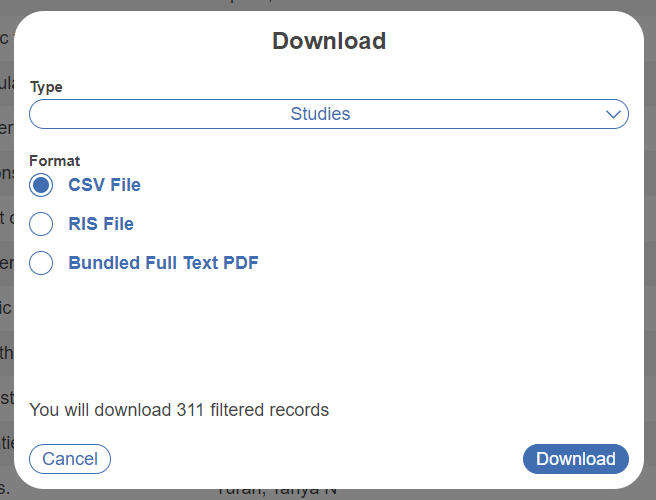
1. Studies

All studies filtered to can be exported, in one of three ways:

Simply open “Download,” select the radio button of interest, and click “Download.”

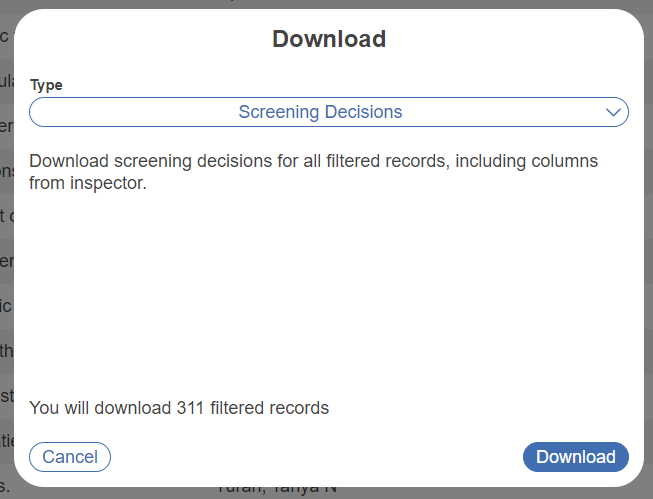
2. Screening Decisions

To export all Screening Decisions, after opening “Download,” select the second option, “Screening Decisions.”

This will export all screening decisions and the email of the screener; for different modes, the structure of the exported spreadsheet is:

  • Standard Single screening: Final Screening decision, then reviewer identity.
  • Standard Dual Screening: Reviewer 1 decision, then Reviewer 1 identity. Then, Reviewer 2 decision and identity, and if any study was screened more than twice before adjudication, all other reviewers' decisions. Then, the last two columns will be Final Screening decision and the adjudicator's identity.
  • Two-Pass Single Screening: Abstract decision, then reviewer identity. Then, Full Text decision and reviewer identity.
  • Dual Two-Pass Screening: Follows the pattern of Standard Dual Screening, but with Abstract decisions and identities first, followed by Full Text decisions.

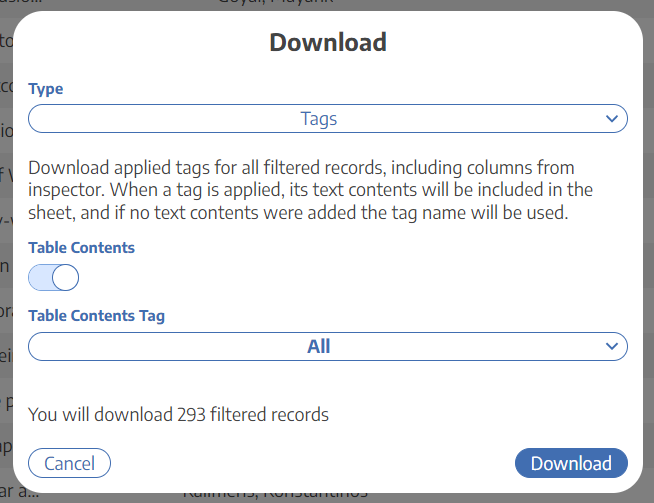
3. Tags

To export all Tags, select the third option, “Tags”. This will export all tags as columns (ordered as in your hierarchy) and all studies as rows. Wherever tags were applied, their text contents will be in the relevant cell; if the applied tag has no contents, the tag name will be substituted.

If you have any Table Content configured tags in your nest, you can toggle to export Table Contents instead of Text Contents. This export contains all rows from the corresponding table contents, with relevant study metadata attached. There will be two header rows at the top of the sheet, one for the Tag names, and one for study-level columns and Table Contents columns. When “All” Table Contents tags are selected for export, empty cells will be filled in for all columns except the relevant table.

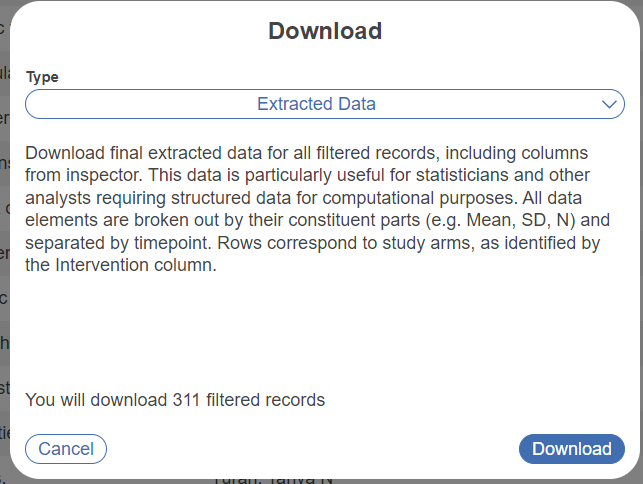
4. Extracted Data

The fourth option, “Extracted Data,” will export all Data Elements gathered in Extraction. The rows in this export are not studies, but rather the study arms (as identified by their Interventions).

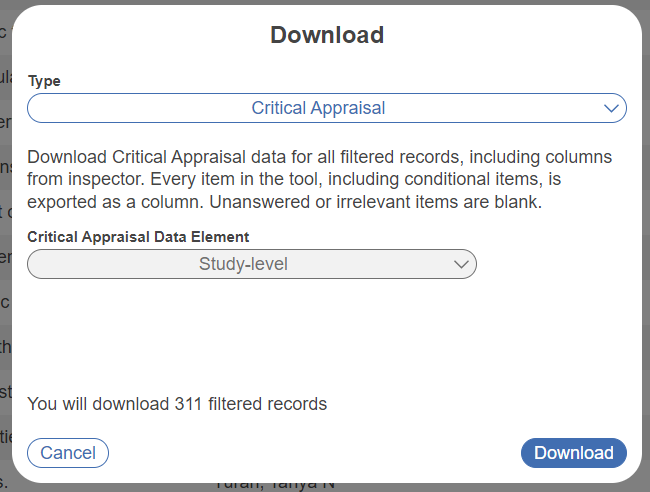
5. Critical Appraisal

The fifth option, “Critical Appraisal” enables you to download the answers to every Critical Appraisal question, either at the whole-study level, or (if collected) at the level of each Outcome.

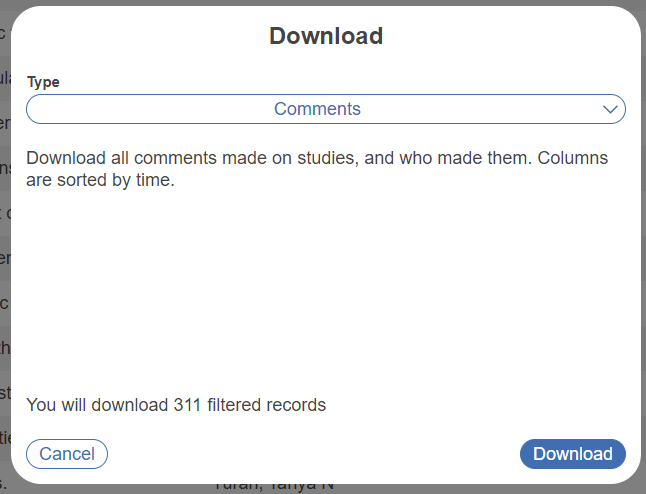
6. Comments

The last option, “Comments,” enables you to download all comments made on studies, with the comments listed with the first comment and then the commenter's identity, followed by all other comments in chronological order, each with a column indicating identity.

wiki/autolit/utilities/inspector/download.txt · Last modified: 2023/06/06 20:18 by jthurnham